Turn YouTube Videos Into a Paid Online Course (6 Steps)
5 minute readAre you a content creator on YouTube and want to monetize your knowledge by creating an online course?
Look no further, in this blog post you will learn how to turn your YouTube videos into an engaging and valuable online course video that your students will love.
YouTube is a great tool that can help you gain visibility, grow your audience and scale your business as a creator. This video-sharing platform works best for delivering informative and quick content users can consume on the go, making it perfect for short-form YouTube training courses.
However, for more in-depth content that requires more time and involves a learning curve, an online course offers a more structured and engaging way for students to learn a specific topic. This is where you need an online course platform to structure your content and sell it for a profit.
Keep reading below to learn how to turn your YouTube videos into an online course in 6 easy steps—and discover how Heights AI can help automate the process!
Step 1: Create Your Heights Platform Account

The first thing you need to do to create an online course from your YouTube videos is to pick an online course platform.
This is probably the most important step: not all online course platforms are the same, so you need to make sure that the one you choose has all the features you need to create valuable courses.
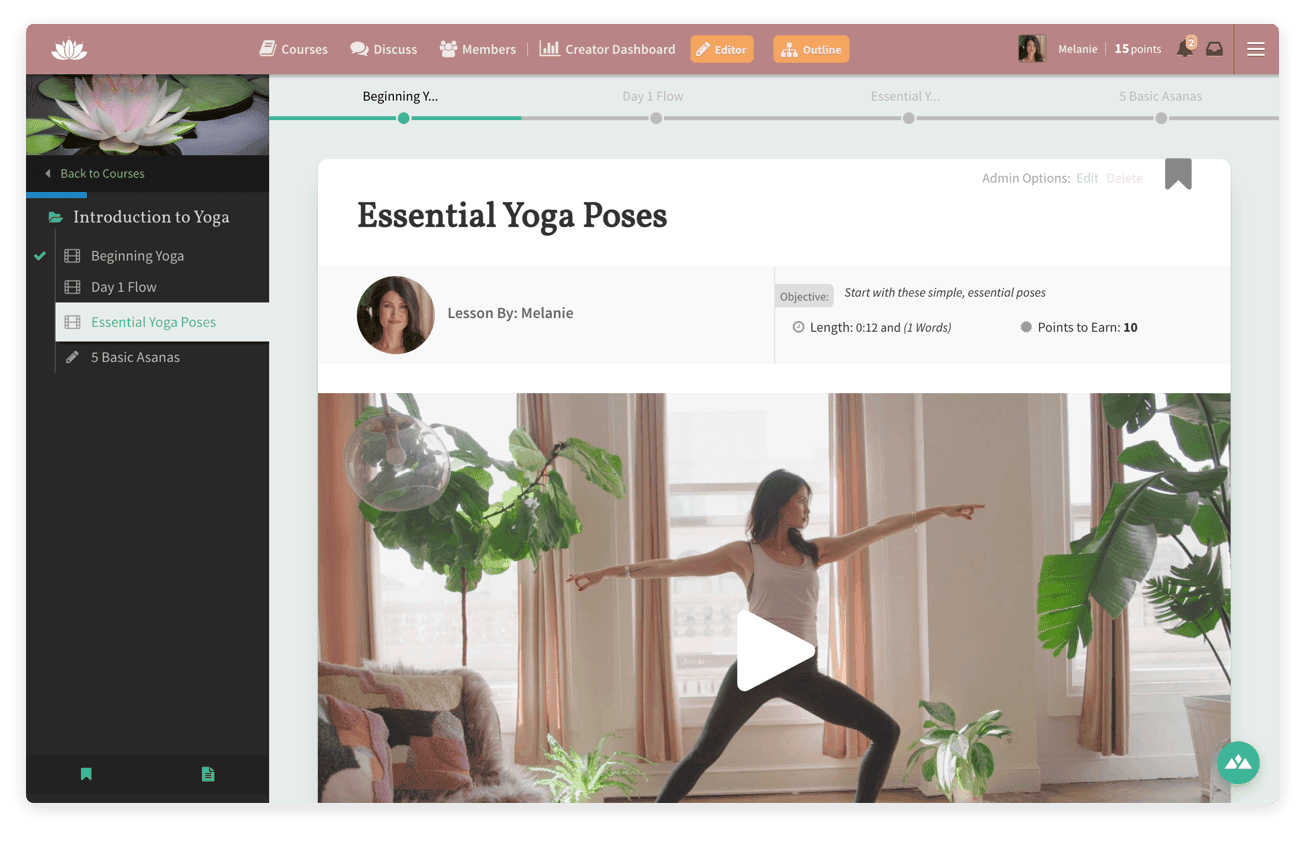
You already have the content for your course from your YouTube videos, but a great online course is much more than just a collection of videos organized into an order. Content is important, but there are other aspects that can significantly increase the value of your course: creating an online community, applying gamification techniques, engaging students with assignments and projects, communicating with your students and so on...
Heights Platform lets you do all of the above and more. With Heights AI, you can even generate your course content automatically, including your course title, lesson outline, description, and cover image—all built directly inside your account.
Step 2: Pick a Topic and Videos
The next step is to choose a topic for your online course and create an outline for your course content.
This means drafting a structure for your online course, choosing what kind of lessons to include and in what order and dividing the content into modules. Now is the time to figure out the result of your online course: what will your future students achieve once they complete your program?
The goal of your online course is going to be your number one marketing strategy and you should focus on making this very clear for your potential customer, starting by specifying the "transformation" they will get from your program right in the online course title.
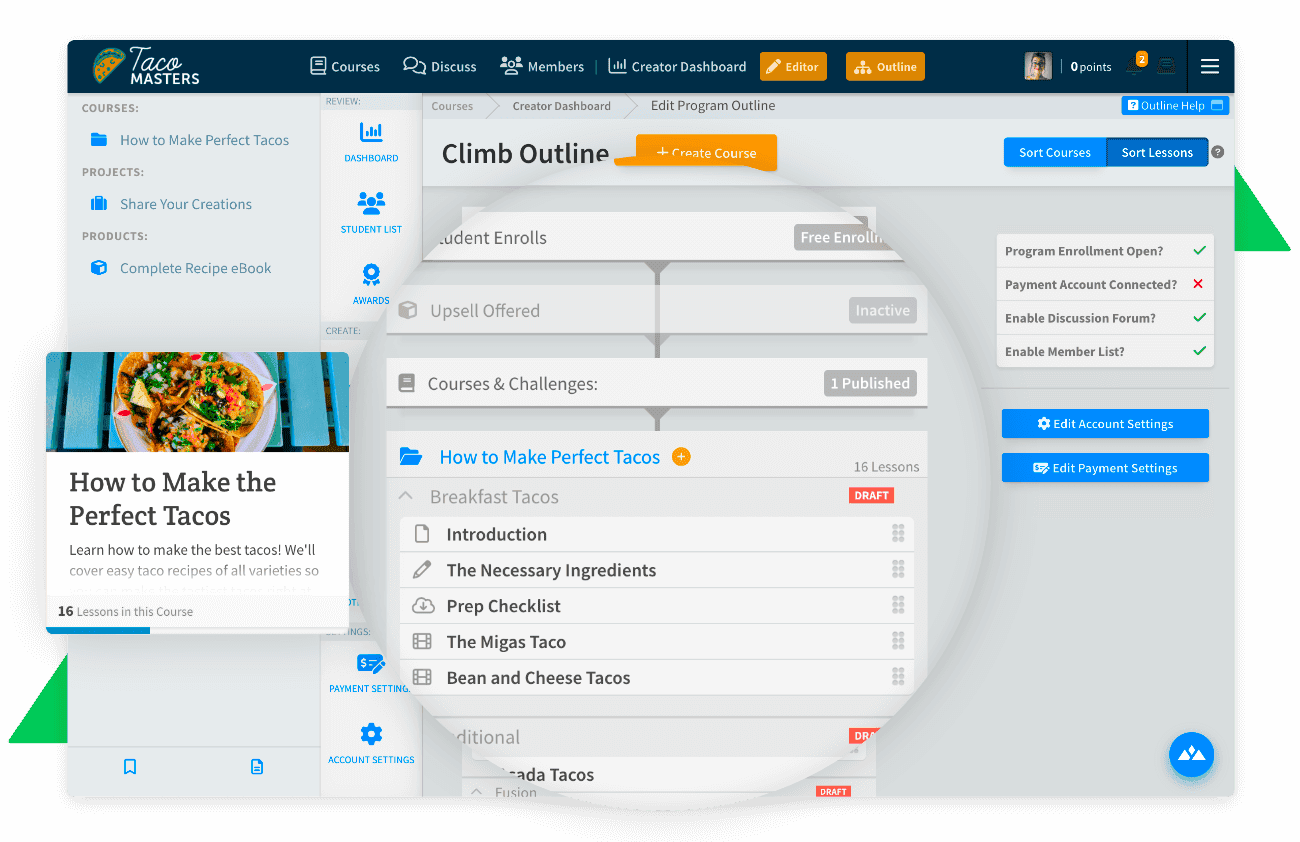
Once you have a clear idea of the topic and result of your course, start by creating your course outline using Heights Platform's feature "Climb Outline", where you can easily create lessons, group them into modules and drag and drop them in any order.
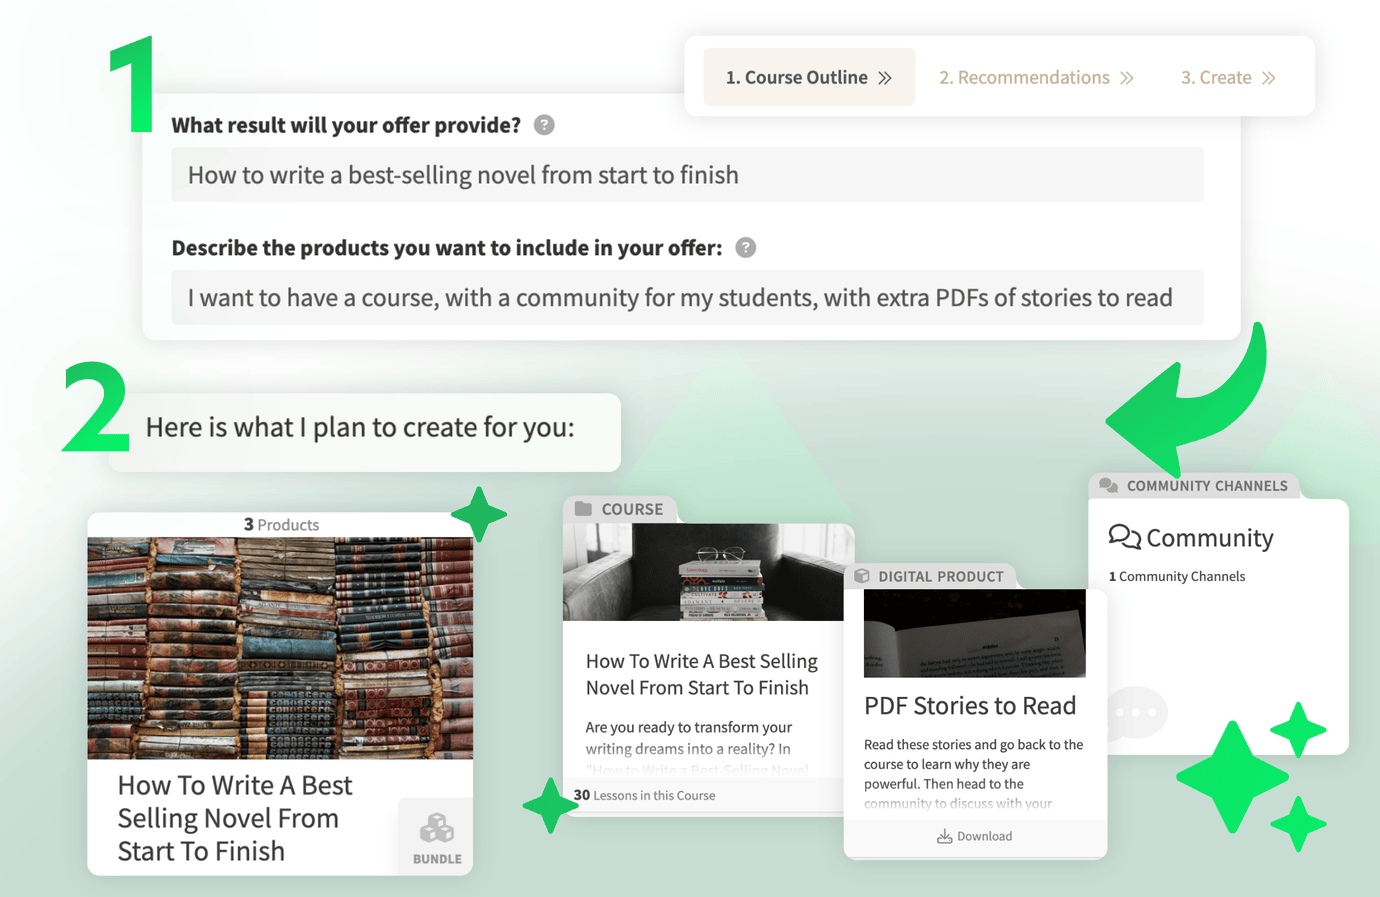
Even better—Heights AI can automatically generate a full course outline for you using its AI Product Generator tool. Just describe your idea and let AI structure it into a professional course.

Step 3: Upload Videos and Create Course Content
This is the easy part, as you already have the videos ready to be uploaded!
However, you still might have to do some work. The kind of content that works on YouTube doesn't necessarily fit an online course, and this depends on your videos and the type of course you are creating.
Maybe you want to cut the beginning of the video out, where you ask viewers to subscribe to your YouTube channel, like the video and introduce yourself? Or you want to slightly adjust the edits, include subtitles and so on...
This is also the step where you create any other content you need for your online course. Depending on your goals, you might want to add text to your lessons, create worksheets, add downloadable files and so on...
On Heights Platform you can easily upload videos or embed them from YouTube, write lesson text and downloadable files, audio or HTML files.
Using the AI Lesson Review tool in Heights AI, you can get feedback on your course videos and receive suggestions to improve clarity, engagement, and structure.
Step 4: Make Your Course Engaging!
The difference between a collection of YouTube videos and a proper online course? The students' experience!
Once you've uploaded all of your videos and created all of your lesson content, it's time to make your online course engaging and worth its price (we will talk about pricing in our next point).
A lot of course creators worry about the value of their online courses, especially considering that many times students could learn the topic for free by watching YouTube videos and reading blog posts.
Since you have taken your content from YouTube and decided to sell it for a price with an online course, you need to make sure you are crafting a great learning experience for your students.
How can you do this? Here are a few ideas:
- Choosing an online course platform that helps students learn and has all the tools you need to create valuable courses (you have already done this in step 1 by creating your Heights account)
- Structuring your video lessons in a way that guides students in their learning process (you've already done this in steps 2 and 3)
- Including gamification aspects that can help your students enjoy your course and have fun with it.
- Adding projects and assignments so students can apply their newfound knowledge in a practical way.
- Creating an online community where students can share ideas, ask questions and interact with each other as they progress through your course.
Step 5: Price Your Online Course
This can be a very confusing step for many online course creators. The price highly depends on your content, the result your online course provides, and your audience.
If you have followed all of our tips so far (focusing on the result, creating an online community, adding projects, gamification...) you can probably decide to charge a decent price for your course, as it is not simply a collection of videos anymore!
We wrote an in-depth article about online course pricing and we also created a pricing calculator for you, so if you are struggling with this step, make sure to check it out: Ultimate Guide to Pricing Your Online Course (With Earnings Calculator)
Step 6: Launch Your Online Course!
Now it's time to start selling your course and organize your launch.
It is important to notice that you don't have to wait until you have everything ready and perfect in order to start promoting your online course: as a matter of fact, we always recommend our creators to start marketing their course as soon as they begin creating the content for it. (If you have a thriving YouTube channel already, then you already have an audience for your new course!)
This way, you can get a head start on building your audience and creating hype around your future launch.
No matter when you decide to start advertising your online course, check out this guide of promotion ideas you can do to grow your audience and increase sales: A Complete Guide on How to Promote Your Online Course and Boost Sales
Create Your Online Course TodayHow Heights AI Can Help You Build a Course From YouTube Videos
 Using Heights AI, creators can save hours of work by letting AI handle the structure and execution of their online course. With tools like:
- AI Product Generator – Instantly turn your idea into a complete offer, with courses, communities, and digital products.
- AI Lesson Review – Automatically analyzes your course videos and text to suggest improvements.
- AI Quizzes – Create quizzes for your students with a single click.
- AI Web Page Generator – Launch your course landing page in minutes using AI prompts.
These AI-powered tools are designed to help creators quickly and easily transform YouTube videos into profitable online learning programs.
Frequently Asked Questions
What’s the best way to create an online class video?
Use a clean background, good lighting, and a microphone. Then structure your lesson around a clear transformation. Heights AI can help you structure and polish your content easily.
Can I make money from YouTube courses?
Yes! Repurposing your YouTube content into a paid course adds value and lets you monetize directly. Check out our guide on how course creators make money on YouTube.
What platform should I use to create video courses?
Heights Platform is designed for creators and includes everything you need—course hosting, marketing, and AI tools to speed up your launch.
What’s the difference between YouTube videos and online course videos?
YouTube videos are built for entertainment or awareness. Online class videos are structured for deep learning and transformation, usually with quizzes, projects, and a guided curriculum.


